HuggingFace community-driven open-source library of simulation environments


Project description
🏜 Simulate
Simulate is a library for easily creating and sharing simulation environments for intelligent agents (e.g. reinforcement learning) or synthetic data generation.
Install
You can install Simulate with a simple pip install simulate
Quick tour
Simulate's API is inspired by the great Kubric's API. The user create a scene and add assets in it (objects, cameras, lights if needed). Once the scene is created you can save/share it and also render or do simulations using one of the backend rendering/simulation engines (at the moment Unity, Blender and Godot). The saving/sharing format is engine agnostic and using the industry standard glTF format for saving scenes.
Let's do a quick exploration together.
We'll use the default backend which is a simple
To install and contribute (from CONTRIBUTING.md)
Create a virtual env and then install the code style/quality tools as well as the code base locally
pip install simulate
Before you merge a PR, fix the style (we use isort + black)
make style
Project Structure
The Python API is located in src/simulate. It allows creation and loading of scenes, and sending commands to the backend.
The backend, currently just Unity, is located in integrations/Unity. This is currently a Unity editor project, which must be opened in Unity 2021.3.2f1. In the future, this will be built as an executable, and spawned by the Python API.
Loading a scene from the hub or a local file
Loading a scene from a local file or the hu is done with Scene.create_from(), saving or pushing to the hub with scene.save() or scene.push_to_hub():
from simulate import Scene

scene = Scene.create_from('tests/test_assets/fixtures/Box.gltf')  # either local (priority) or on the hub with full path to file
scene = Scene.create_from('simulate-tests/Box/glTF/Box.gltf', is_local=False)  # Set priority to the hub file

scene.save('local_dir/file.gltf')  # Save to a local file
scene.push_to_hub('simulate-tests/Debug/glTF/Box.gltf')  # Save to the hub

Creating a Scene and adding/managing Objects in the scene
Basic example of creating a scene with a plane and a sphere above it:
import simulate as sm

scene = sm.Scene()
scene += sm.Plane() + sm.Sphere(position=[0, 1, 0], radius=0.2)

>>> scene
>>> Scene(dimensionality=3, engine='PyVistaEngine')
>>> └── plane_01 (Plane - Mesh: 121 points, 100 cells)
>>>     └── sphere_02 (Sphere - Mesh: 842 points, 870 cells)

scene.show()
An object (as well as the Scene) is just a node in a tree provided with optional mesh (as pyvista.PolyData structure) and material and/or light, camera, agents special objects.
The following objects creation helpers are currently provided:
Object3Dany object with apyvista.PolyDatamesh and/or materialPlaneSphereCapsuleCylinderBoxConeLineMultipleLinesTubePolygonRingText3DTriangleRectangleCircleStructuredGrid
Most of these objects can be visualized by running the following example:
python examples/basic/objects.py
Objects are organized in a tree structure
Adding/removing objects:
- Using the addition (
+) operator (or alternatively the method.add(object)) will add an object as a child of a previous object. - Objects can be removed with the subtraction (
-) operator or the.remove(object)command. - The whole scene can be cleared with
.clear().
Accessing objects:
- Objects can be directly accessed as attributes of their parents using their names (given with
nameattribute at creation or automatically generated from the class name + creation counter). - Objects can also be accessed from their names with
.get(name)or by navigating in the tree using the varioustree_*attributes available on any node.
Here are a couple of examples of manipulations:
# Add two copy of the sphere to the scene as children of the root node (using list will add all objects on the same level)
# Using `.copy()` will create a copy of an object (the copy doesn't have any parent or children)
scene += [scene.plane_01.sphere_02.copy(), scene.plane_01.sphere_02.copy()]

>>> scene
>>> Scene(dimensionality=3, engine='pyvista')
>>> ├── plane_01 (Plane - Mesh: 121 points, 100 cells)
>>> │   └── sphere_02 (Sphere - Mesh: 842 points, 870 cells)
>>> ├── sphere_03 (Sphere - Mesh: 842 points, 870 cells)
>>> └── sphere_04 (Sphere - Mesh: 842 points, 870 cells)

# Remove the last added sphere
>>> scene.remove(scene.sphere_04)
>>> Scene(dimensionality=3, engine='pyvista')
>>> ├── plane_01 (Plane - Mesh: 121 points, 100 cells)
>>> │   └── sphere_02 (Sphere - Mesh: 842 points, 870 cells)
>>> └── sphere_03 (Sphere - Mesh: 842 points, 870 cells)
Objects can be translated, rotated, scaled
Here are a couple of examples:
# Let's translate our floor (with the first sphere, it's child)
scene.plane_01.translate_x(1)

# Let's scale the second sphere uniformly
scene.sphere_03.scale(0.1)

# Inspect the current position and scaling values
print(scene.plane_01.position)
>>> array([1., 0., 0.])
print(scene.sphere_03.scaling)
>>> array([0.1, 0.1, 0.1])

# We can also translate from a vector and rotate from a quaternion or along the various axis
Visualization engine
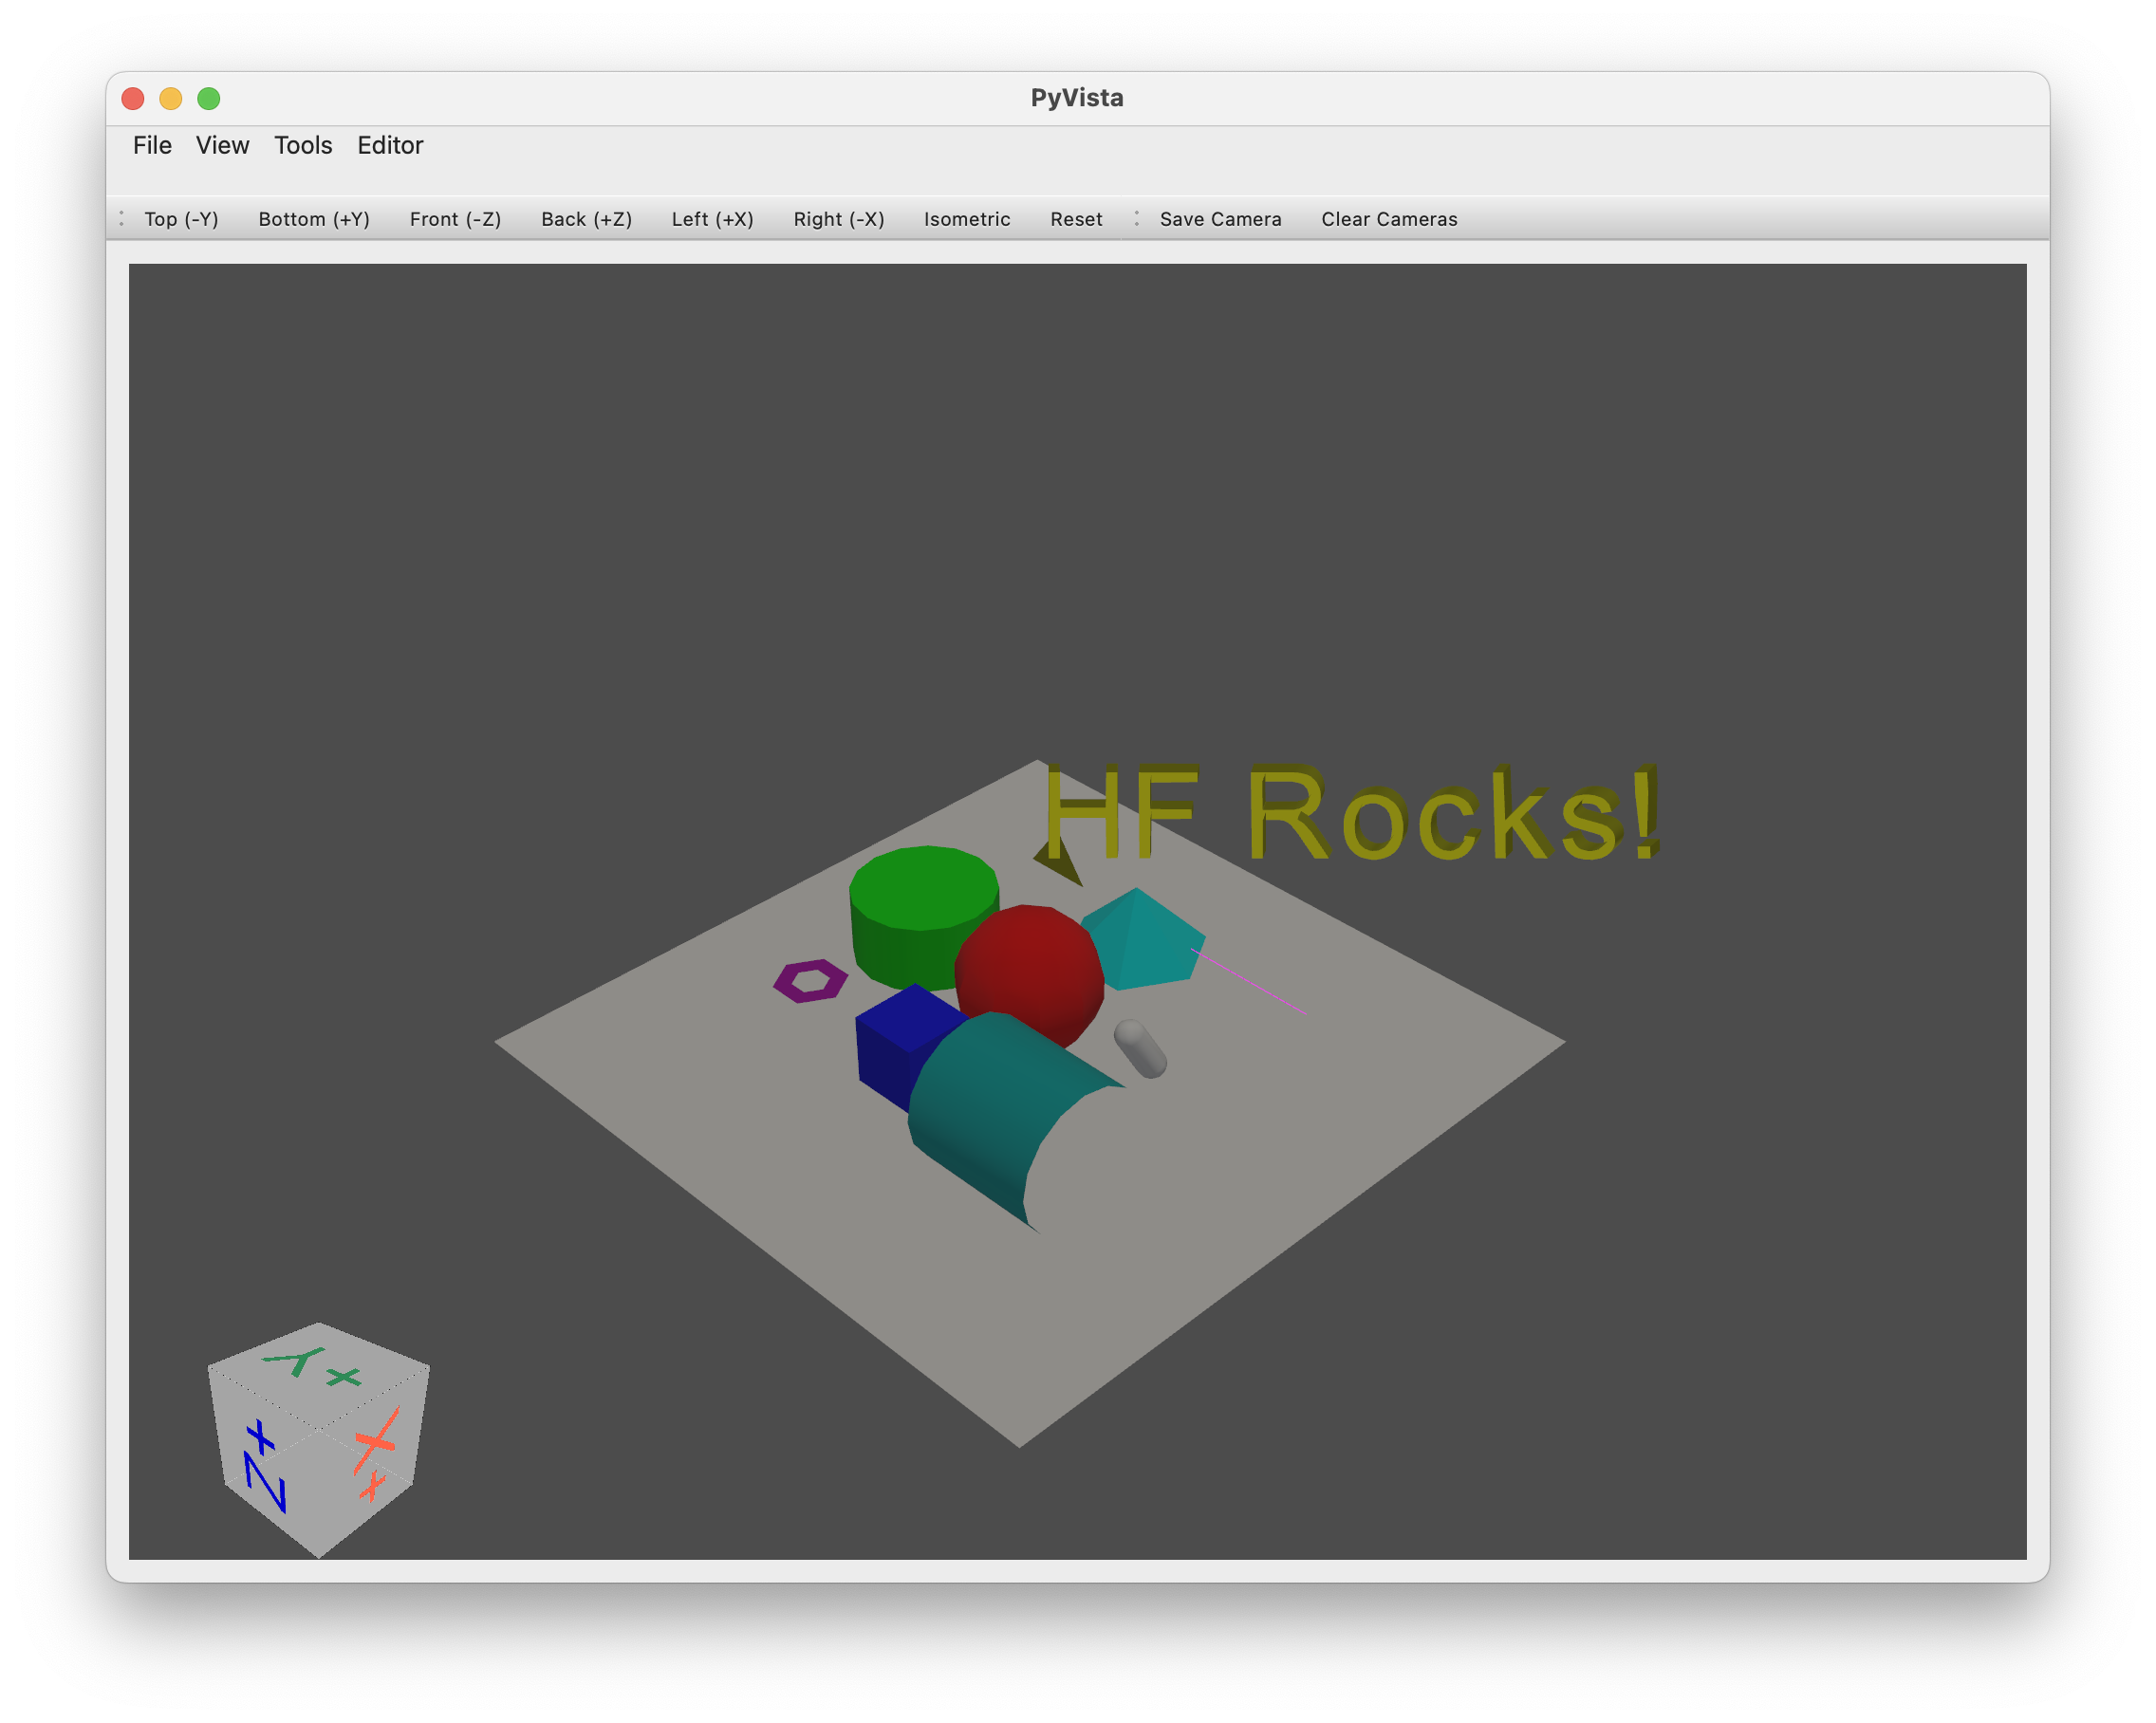
A default vizualization engine is provided with the vtk backend of pyvista.
Starting the vizualization engine can be done simply with .show().
scene.show()
You can find bridges to other rendering/simulation engines in the integrations directory.
Tips
If you are running on GCP, remember to not install pyvistaqt, and if you did so, uninstall it in your environment, since QT doesn't work well on GCP.
Release history Release notifications | RSS feed


Download files
Download the file for your platform. If you're not sure which to choose, learn more about installing packages.
Source Distribution
Built Distribution
Hashes for simulate-0.0.0.1-cp39-cp39-macosx_11_0_arm64.whl
| Algorithm | Hash digest | |
|---|---|---|
| SHA256 | 72401d18fffd59143328bf4076a5b379ed126c9663987288f730835334bdac1c |
|
| MD5 | 188451834efdaa457303916395c852fa |
|
| BLAKE2b-256 | da053d2f98ff37cd49c9a9c10f0fc87a6a045aa074cfdd494d13a818a93998e2 |


