Making neural networks more interpretable, for research and art

Project description
Torch-Dreams
Making neural networks more interpretable, for research and art.


pip install torch-dreams
Contents
Quick start
Make sure you also check out the quick start colab notebook and the docs for more interesting examples.
import matplotlib.pyplot as plt
import torchvision.models as models
from torch_dreams.dreamer import dreamer

model = models.inception_v3(pretrained=True)
dreamy_boi = dreamer(model)

config = {
    "image_path": "noise.jpg",
    "layers": [model.Mixed_6a],
    "octave_scale": 1.1,
    "num_octaves": 14,
    "iterations": 20,
    "lr": 0.05,
    "max_rotation": 0.9,                  ## optional
    "max_roll_x": 10,                     ## optional
    "max_roll_y": 10,                     ## optional
    "custom_func":  None,                 ## optional
    "add_laplacian": False,               ## optional
    "gradient_smoothing_coeff": 0.5       ## optional
    "gradient_smoothing_kernel_size": 9   ## optional
}

out = dreamy_boi.deep_dream(config)
plt.imshow(out)
plt.show()
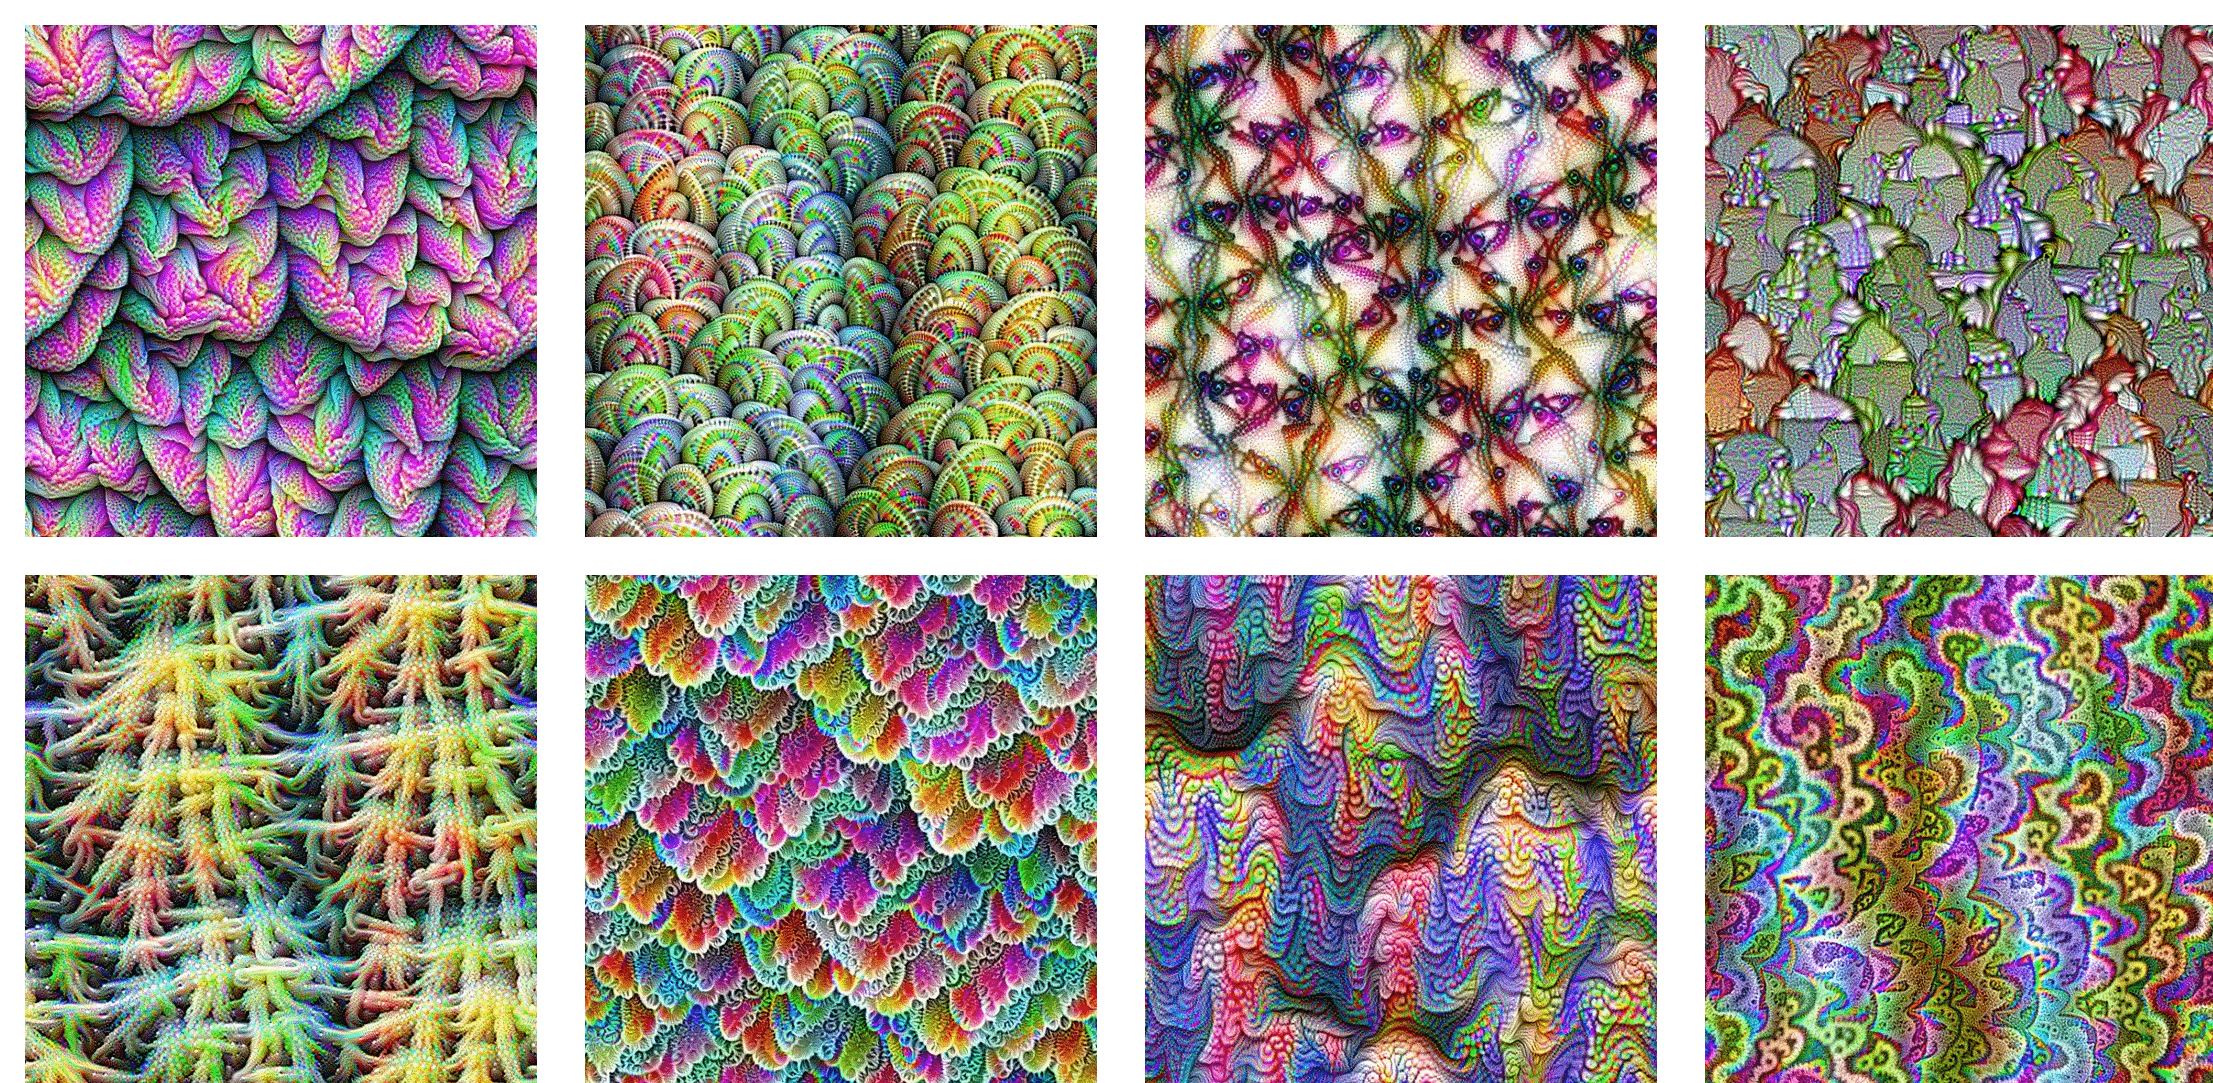
Visualizing individual channels
This section of torch_dreams was highly inspired by Feature visualization by Olah, et al. We basically optimize the input image to maximize activations of a certain channel of a layer in the neural network.
First, let's select the layer(s) we want to work on. Feel free to play around with other layers.
layers_to_use = [model.Mixed_6c.branch7x7_1.conv]
The next step now would be to define a custom_func that would enable use to selectively optimize a single channel.
def my_custom_func(layer_outputs):
    loss = layer_outputs[0][7].mean()  ## 7th channel of first layer from layers_to_use
    return loss
The rest is actually very similar to the quick start snippet:
config = {
    "image_path": "noise.jpg",
    "layers": layers_to_use,
    "octave_scale": 1.1,
    "num_octaves": 20,
    "iterations": 100,
    "lr": 0.04,
    "max_rotation": 0.7,
    "custom_func":  my_custom_func,
}

out = dreamy_boi.deep_dream(config)
plt.imshow(out)
plt.show()
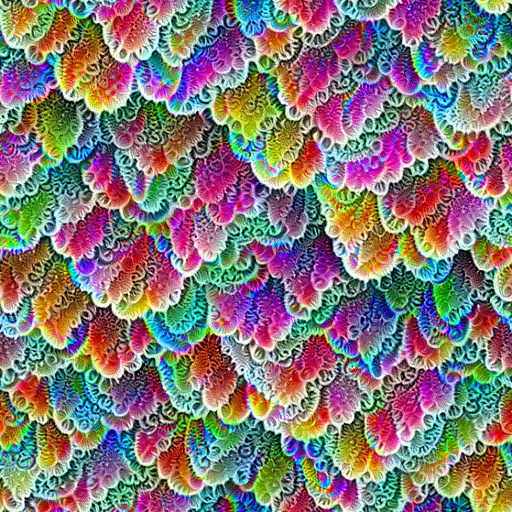
If things go as planned, you will end up with something like:
A closer look
The config is where we get to customize how exactly we want the optimization to happen. Here's an example without using gradient masks:
config = {
    "image_path": "your_image.jpg",
    "layers": [model.Mixed_6c.branch1x1],
    "octave_scale": 1.2,
    "num_octaves": 10,
    "iterations": 20,
    "lr": 0.03,
    "custom_func": None,
    "max_rotation": 0.5,
    "gradient_smoothing_coeff": 0.1,
    "gradient_smoothing_kernel_size": 3
}
-
image_path: specifies the relative path to the input image. -
layers: List of layers whose outputs are to be "stored" for optimization later on. For example, if we want to use 2 layers:config["layers"] = [ model.Mixed_6d.branch1x1, model.Mixed_5c ]
-
octave_scale: Factor by which the image is scaled up after each octave. -
num_octaves: Number of times the image is scaled up in order to reach back to the original size. -
iterations: Number of gradient ascent steps taken per octave. -
lr: Learning rate used in each step of the gradient ascent. -
custom_func(optional): Use this to build your own custom optimization functions to optimize on individual channels/units/etc.For example, if we want to optimize the th 47th channel of the first layer and the 22nd channel of the 2nd layer simultaneously:
def my_custom_func(layer_outputs):
    loss = layer_outputs[0][47].mean() + layer_outputs[1][22].mean()
    return loss
config["custom_func"] = my_custom_func
-
max_rotation(optional): Caps the maximum rotation to apply on the image. -
gradient_smoothing_coeff(optional): Higher -> stronger blurring. -
gradient_smoothing_kernel_size: (optional) Kernel size to be used when applying gaussian blur.
New in v1.1.1
add_laplacian(optional): If set toTrue, it adds the high frequency components from the higher octave into the resulting image. Set it toTrueif you want to preserve the details of the original image as much as possible (especially when using gradient masks)max_roll_x(optional): sets the maximum amount of random roll the image can undergo at each iteration.- By default, it's set to
None, which means that the roll values would be a random value between 0 and the width of the image. - Set it to 0 if you want to disable any random roll in this direction.
- By default, it's set to
max_roll_y(optional): same asmax_roll_xbut in Y direction
Relevant Reading:
Acknowledgements
Release history Release notifications | RSS feed


Download files
Download the file for your platform. If you're not sure which to choose, learn more about installing packages.
Source Distribution
Built Distribution
Hashes for torch_dreams-1.1.1-py3-none-any.whl
| Algorithm | Hash digest | |
|---|---|---|
| SHA256 | 3c000c69d8631a33f1c642e13f530303ec8a1ea5692ee9f85646250d346ecc3c |
|
| MD5 | f862ff748d766f0ec8185d1b4ce8b001 |
|
| BLAKE2b-256 | 6593ef74f2312be432db29f70d476fdb50073b25cc9daf920ba2f7fa3accfcd6 |


