mfe plugin for Tutor


Project description
This plugin makes it possible to easily add micro frontend (MFE) applications on top of an Open edX platform that runs with Tutor. To learn more about MFEs, please check the official Open edX documentation.
In addition, this plugin comes with a few MFEs which are enabled by default:
Instructions for using each of these MFEs are given below.
Installation
pip install tutor-mfe
Usage
tutor plugins enable mfe
tutor local quickstart
Account
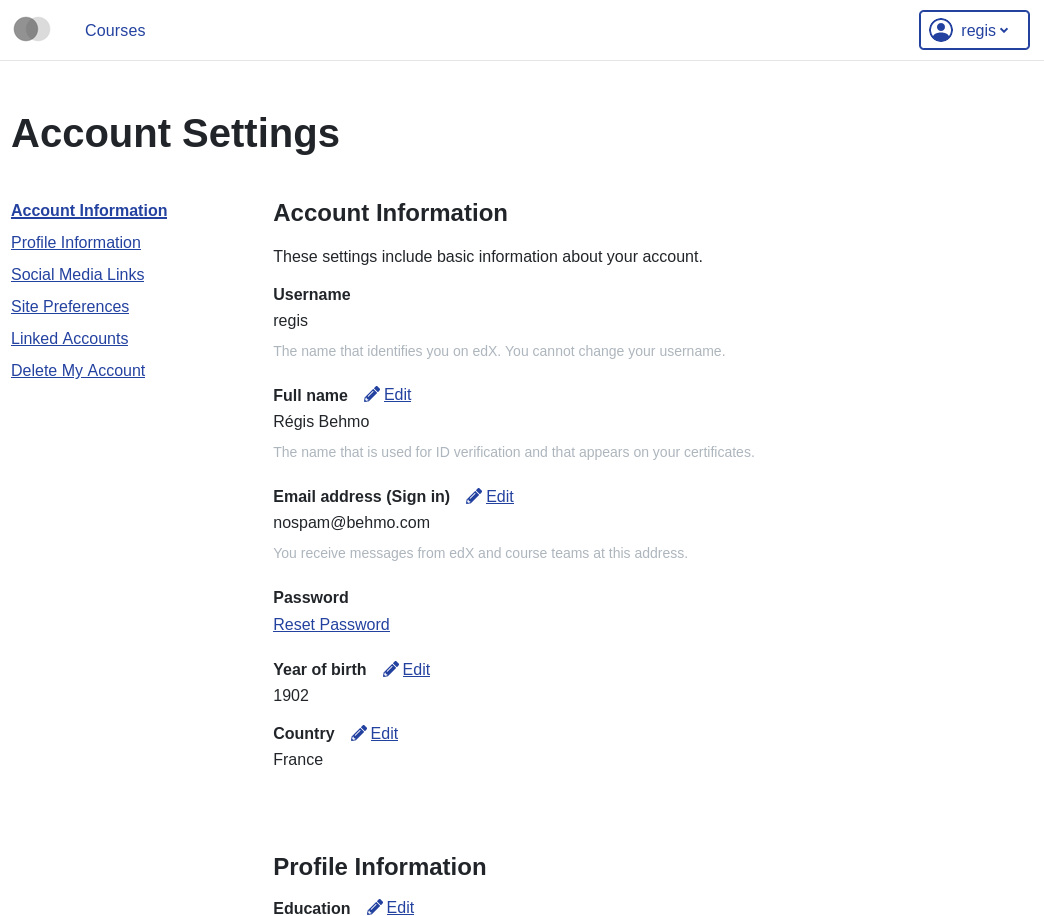
An MFE to manage account-specific information for every LMS user. Each user’s account page is available at http(s)://{{ MFE_HOST }}/account. For instance, when running locally: https://apps.local.overhang.io/account.
Gradebook
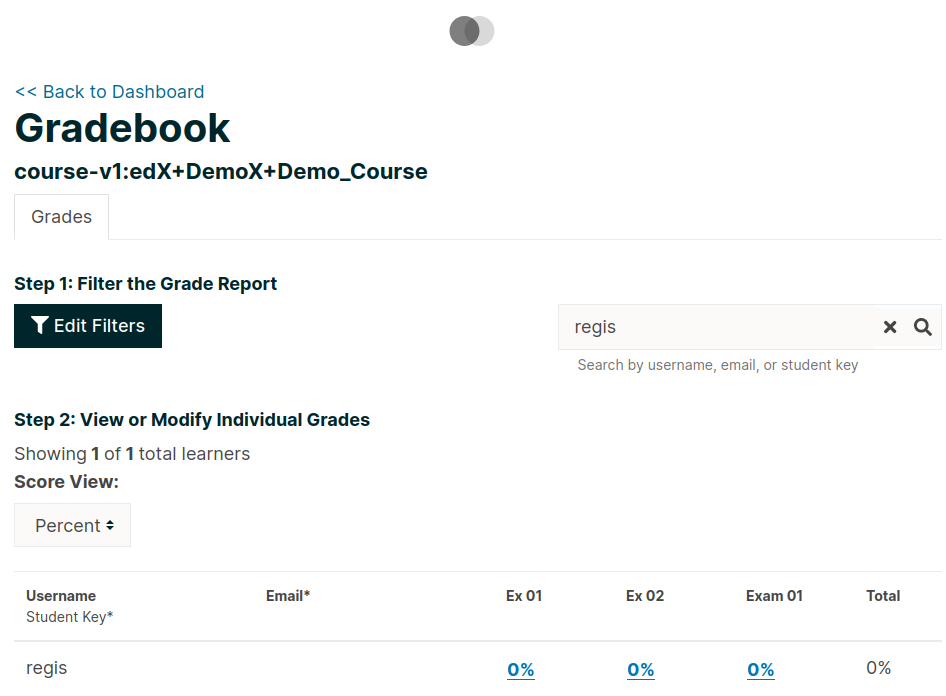
This instructor-only MFE is for viewing individual and aggregated grade results for a course. To access this MFE, go to a course 🡒 🡒 Instructor tab 🡒 Student Admin 🡒 View gradebook. The URL should be: http(s)://{{ MFE_HOST }}/gradebook/{{ course ID }}. When running locally, the gradebook of the demo course is available at: http://apps.local.overhang.io/gradebook/course-v1:edX+DemoX+Demo_Course
Profile
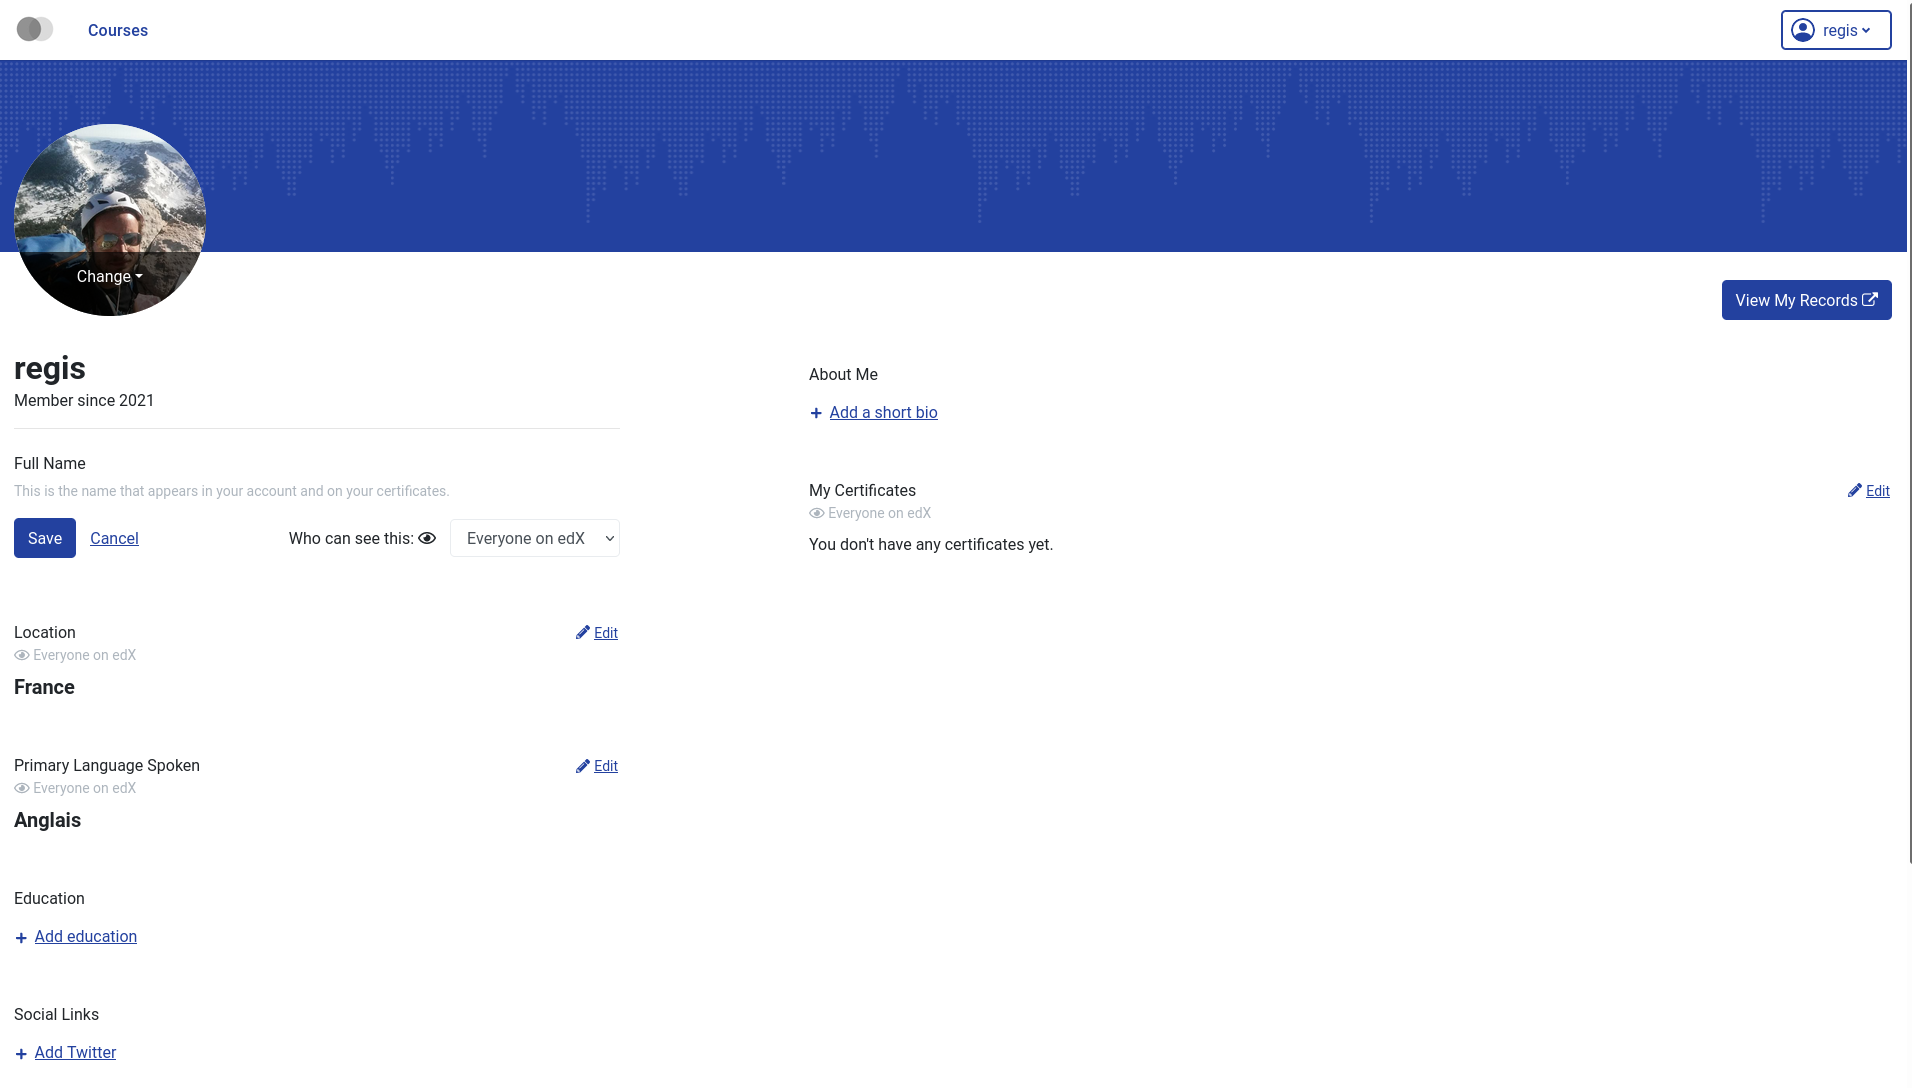
Edit and display user-specific profile information. The profile page of every user is visible at http(s)://{{ MFE_HOST }}/profile/u/{{ username }}. For instance, when running locally, the profile page of the “admin” user is: http://apps.local.overhang.io/profile/u/admin.
MFE management
Adding new MFEs
Other Tutor plugin developers can take advantage of this plugin to deploy their own MFEs. To declare a new MFE, a new configuration setting should be created with the “_MFE_APP” suffix. This configuration setting should include the name, repository, development port and production/development settings for the MFE. For example:
config = {
    "defaults": {
        "MYMFE_MFE_APP": {
            "name": "mymfe",
            "repository": "https://github.com/myorg/mymfe",
            "port": 2001,
            "env": {
                "production": {
                    "MY_CUSTOM_MFE_SETTING": "prod value"
                },
                "development": {
                    "MY_CUSTOM_MFE_SETTING": "dev value"
                }
            }
        }
    }
}
The MFE assets will then be bundled in the “mfe” Docker image and served at http(s)://{{ MFE_HOST }}/{{ MYMFE_MFE_APP["name"] }}. Developers are free to add extra template patches to their plugins, as usual: for instance LMS setting patches to make sure that the LMS correctly connects to the MFEs.
Disabling individual MFEs
To disable an existing MFE, set its corresponding configuration setting to “null”. For instance, to disable the MFEs that ship with this plugin:
tutor config save --set MFE_ACCOUNT_MFE_APP=null
tutor config save --set MFE_GRADEBOOK_MFE_APP=null
tutor config save --set MFE_PROFILE_MFE_APP=null
Running MFEs on Kubernetes
The MFE plugin works a bit differently than other Tutor plugins. MFEs are static bundles of js/html/css code that must be re-generated after every change to their configuration. In practice, this means that the “mfe” Docker image should be re-built and re-deployed every time we run tutor config save. This happens transparently when running Open edX locally (with tutor local). But when running on Kubernetes, you need to re-build the “mfe” image manually and push it to a remote registry. In effect, you must run:
tutor config save --set MFE_DOCKER_IMAGE=docker.io/yourusername/openedx-mfe:latest
tutor images build mfe
tutor images push mfe
tutor k8s start
We consider that this situation is less than ideal. An improvement would be to self-host a Docker registry and an image-building pipeline on Kubernetes. If you are interested in such a solution, please let your voice be heard on the Tutor community forums.
Uninstall
To disable this plugin run:
tutor plugins disable mfe
tutor local quickstart
You will also have to manually remove a few waffle flags:
tutor local run lms ./manage.py lms waffle_delete --flags account.redirect_to_microfrontend
tutor local run lms ./manage.py lms waffle_delete --flags learner_profile.redirect_to_microfrontend
License
This software is licensed under the terms of the AGPLv3.
Release history Release notifications | RSS feed


Download files
Download the file for your platform. If you're not sure which to choose, learn more about installing packages.


